Photography, Australian Landscape Photography, Panoramic Photos, |
|
Photography, Australian Landscape Photography, Panoramic Photos, |
|
|

 |
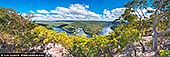
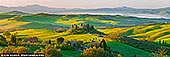
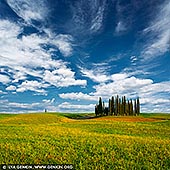
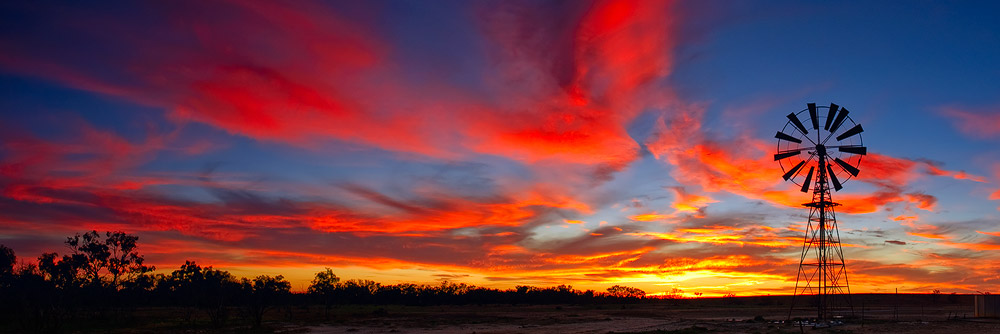
Fine Art Landscape, Travel and Stock Photography by Ilya GenkinWelcome! This website is a collection of my landscape, travel, nature and scenic photos and pictures from all over Australia, South Korea, Japan and other countries. Enjoy browsing through my digital stock library. I offer rights managed landscape, nature and travel stock photography as well as licenses for stock photos. My images are available in mediums such as high resolution files and quality fine art prints. Here, you may:
All my pictures are available as stock photography for
commercial and editorial uses including websites, books, magazines, brochures and advertising, covering
wide range of subjects such as business and finance, food and beverages, lifestyle, industry and concepts.
Prices are negotiated for each particular use depending on the size, location and duration of the use.
Each photo is quality controlled and processed by me. After we reach a license agreement your pictures
will be available as high-resolution files for almost immediate download or will be sent via e-mail or
CD/DVD. By buying quality stock photos and stock photography directly from the photographer you are saving
money and supporting the photographer at the same time! I'm able to sell high quality travel, nature and
landscape related stock photography directly. Pictures you can buy here are as good as the images you can
buy from the stock agencies. If you buy images directly from me you are cutting your costs by eliminating a
middle-man so you are saving your money and you are also supporting the stock photographer. I offer
rights managed stock photos but my pricing model is much simpler and more affordable (no stock agency
margin) than the licensing model used by most stock photography websites. If you still prefer to deal
with stock photography agencies you can license my travel and landscape images via a few major stock
agencies like Getty and Alamy. Also I've got a collection of royalty-free stock imagery available via
major royalty-free photo libraries. Also I've got a collection of royalty-free
stock imagery available via major photo libraries.
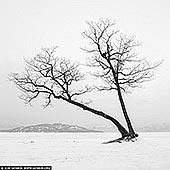
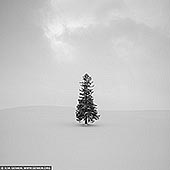
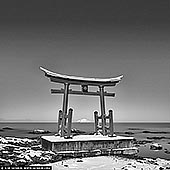
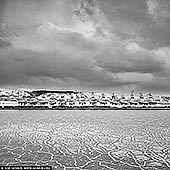
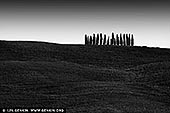
News and Events21 October 2012 Officially announcing that any of the photos in my large collection can be made into black and white works of art. Please check the black and white conversion page how to get black and white prints from me.
1 September 2012 I'm happy to present my new Long Exposure Calculators iPad/iPhone app that is now available for download at the iTunes App Store. LExp or Long Exposure Calculators is an iPhone and iPod touch application and it is a collection of different calculators and cheat sheets (including well known and quite popular ND Filters Long Exposure Quick Reference Charts and Cheat Sheets) created to help photographer with shooting long exposures with Neutral Density (ND) filters, in low light and at night. Application includes:
8 July 2012 I'm constantly adding images to my fine-art and stock photography collection. A few new galleries have been created:
|
||||||||